How to change a cam cleat on a boat?

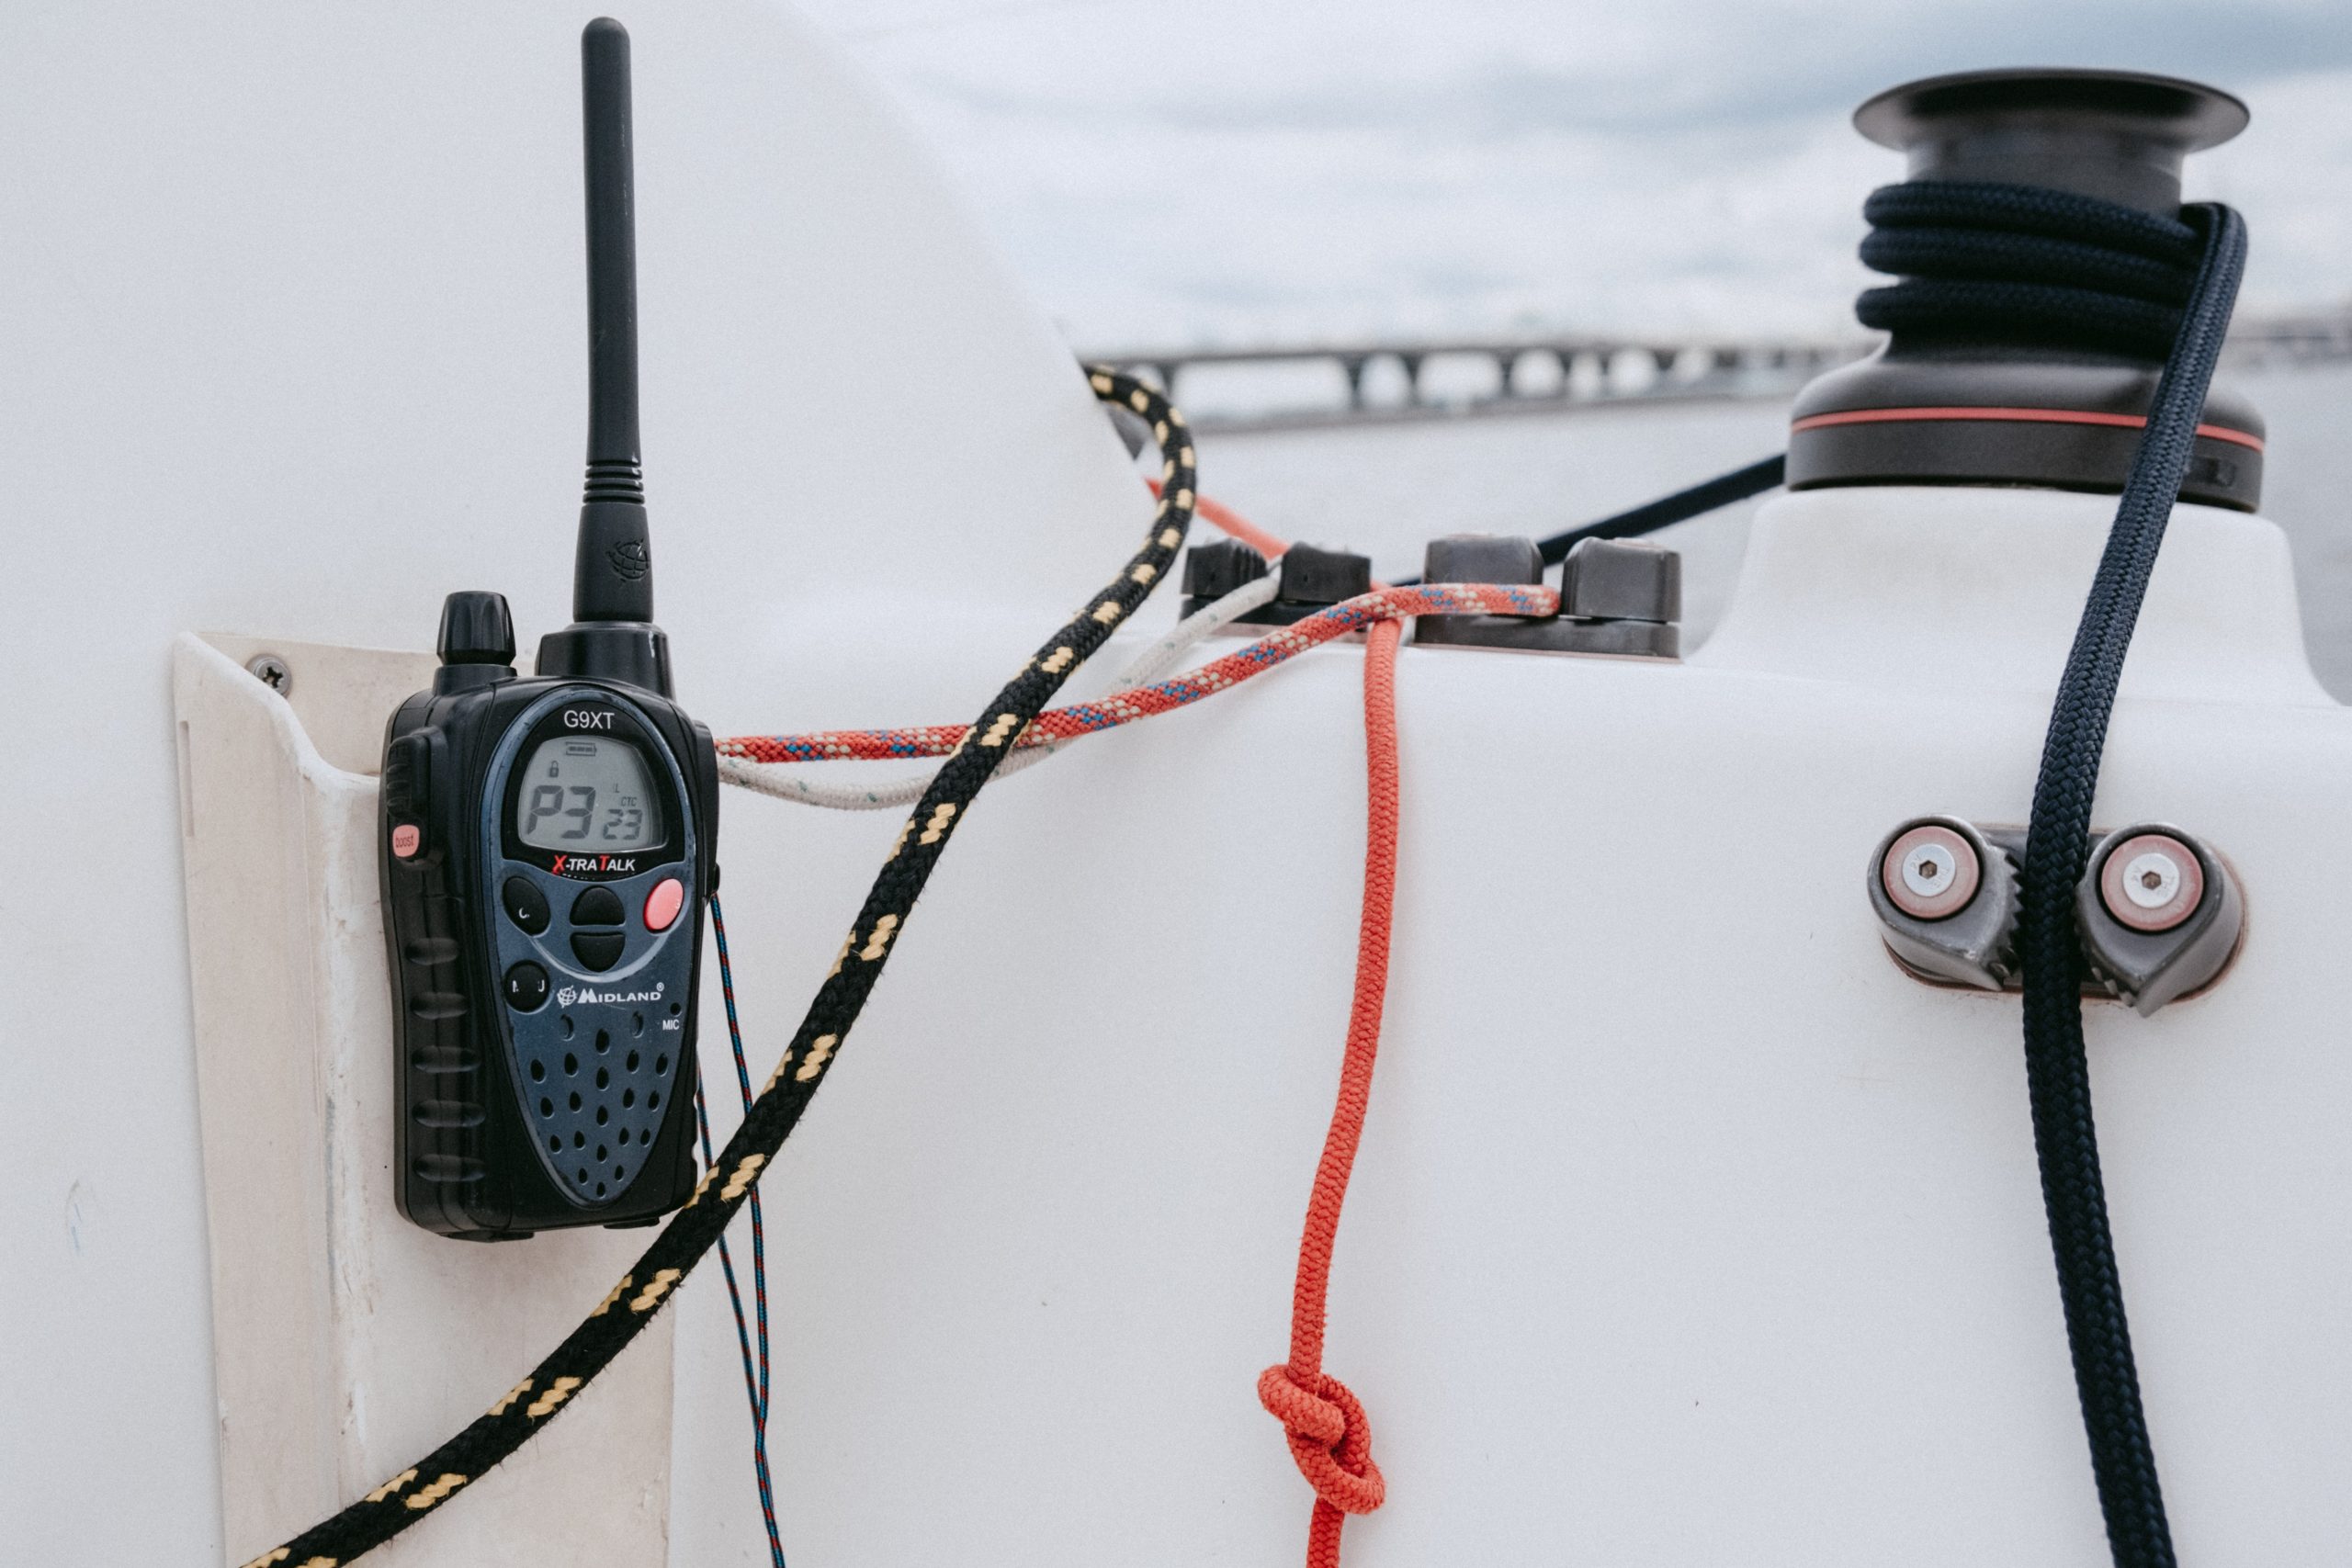
The cleat is a piece of equipment made of stainless steel, plastic or brass which is used to block the ropes of a sailboat. We speak of a cam cleat when the device is reserved for the halyard and the sheet. It can then be recognized by its small elongated shape and its two jaws mounted opposite each other on springs and between which the rope passes. Said jaws pivoting in turn on two vertical axes. The cam cleat is generally positioned on the side of the boat, the forward passes, the coamings or at a specific location in the cockpit. On small vessels, it is mainly used to perform all manual maneuvering on running rigging. During its use, it may happen that the object breaks. The ideal is then to change a cam cleat.
Contents of the page
The list of equipment to have to change a cam cleat
The cam jam is usually attached to the boat with a series of screws and nuts. To dismantle a cam cleat, it is preferable to get help. In any case, you will need:
- Screwdriver or Allen keys depending on the cleats;
- Drill;
- Epoxy resin ;
- Sandpaper or sander;
- Pencil ;
- Finishing gelcoat ;
- Blocking glue;
- stainless steel bolts with locking nuts and lock washers if they are not included;
- Plywood (as applicable);
- Sikaflex adhesive sealant for waterproofing;
- Protective glove ;
- Boat cleaner ;
- Pop rivet pliers and rivet nuts ( expansion anchors and their pliers) in the case of a cam cleat fixed to the mast
Different steps to change a cam cleat
It usually takes less than 2 hours for a beginner to successfully change a cam cleat. The technique is the same whether it is for a cleat on a deckhouse or a piece of rail. The most important thing is to ensure that the holes intended for the bolts are completely sealed.
Remove the old cam cleat
If the old device is still in place, the first step would be to take it apart. To do this, it will be necessary to block the screws inside and at the same time unscrew the nuts. Once the jam has been completely removed, the area will need to be dusted and cleaned.
Delimit the contact area
This is the location chosen for fixing the cam cleat. When it matches the area of the old cleat, it is recommended to perform a thorough cleaning. To do this, we recommend that you use a cleaning liquid for the boat, making sure to put on gloves.
For a new installation on the other hand, it will be necessary to determine the ideal zone and to create new holes. But first, remember to fill the old holes with epoxy resin, sand properly and then finish with a lich of finishing gelcoat.
For the position of the jammer, you can opt for a fixing in the hull of the boat. However, we recommend that you choose a location near the edge of the boat so that the end of the lines falls behind the device by itself. In any case, it is important that you study the pull angles before installation.
Prepare to install the cleat
Once the contact area has been determined, the holes must be drilled. For this, you must take into account the center distance and the diameter of the screws. The little trick is to place the cleat and then mark the marks with a pencil before using the drill. You must then slightly countersink the drill holes in order to promote their sealing.
Perform a final check
At this stage, everything should be in place for change a cam cleat. Nevertheless, a last check would not be too much. This is also the right time to ensure that the holes are sealed. For this, you must apply Sikaflex sealant at the level of the countersink and not in the hole. You can also put it on the contact areas of the blocker after having previously delimited the surface concerned with adhesive tape.
Install the jam cleat
At this level, the operation is almost complete. To be sure that the fasteners do not come loose, we recommend the use of a locking glue. Then it only remains install the jam cleat. To do this, position the blocker, screws, locking nuts and lock washers correctly. The nuts must then be properly tightened before cutting the excess length of screw.
It is possible to use the old screws, provided they are suitable for the new cleat. But first, they should be rid of the Sikaflex or the blocking glue that surrounds them using a reel. As for the locknuts, they can only be used once.
Tips and pitfalls to avoid
It may happen during the operation that you have difficulty accessing the back of the drill holes. For example if you want to fix the cleat on the mast. In this case, it is better to use rivet nuts or expansion plugs to change a cam cleat. Said models are in fact equipped with a collar which prevents them from sinking and sticks them against the hole at the back.
We do not recommend using acetone to clean the piercing area. Indeed, if the product is perfect for cleaning grease stains on polyester, it is also dangerous, especially in closed rooms. You should also avoid putting it in contact with materials such as altuglas, plastic or the rope clamp support.
For GRP vessels, it would be preferable not to screw into the polyester of the boat. Our advice to solidify the installation would be to use a plywood panel before installing the cleat.
How to choose the right cam cleat for a successful change?
Now that you know how to change a cam cleat, you have to know which one to choose. We always recommend choosing your equipment from reputable and reliable brands. We have a preference for Harken cam cleats, the quality of which is well established. You have the choice between two ranges:
- The Cam-Matics: They are ideal for cruising. Made of anodized aluminum, they have superior durability and power.
See HARKEN Cam-Matic Micro jam cleats (Maximum rope Ø = 6 mm)
See HARKEN Cam-Matic standard cam cleats (Maximum rope Ø = 12 mm)
- Carbo-Cams: They are light thanks to their composite material which makes them perfect for racing.
See HARKEN Carbo-Cam Micro cam cleats (Maximum rope Ø = 6 mm)
See HARKEN Carbo-Cam standard cam cleats (Maximum rope Ø = 10 mm)
Finally, we recommend that you always keep a repair kit for your cleats on board, especially during long crossings.

